Parts Needed
- Arduino Uno R3
- FC-28 Sensor PCB
- Sensor + Probe (total)
- Probe Fork Gap
Code Explanation
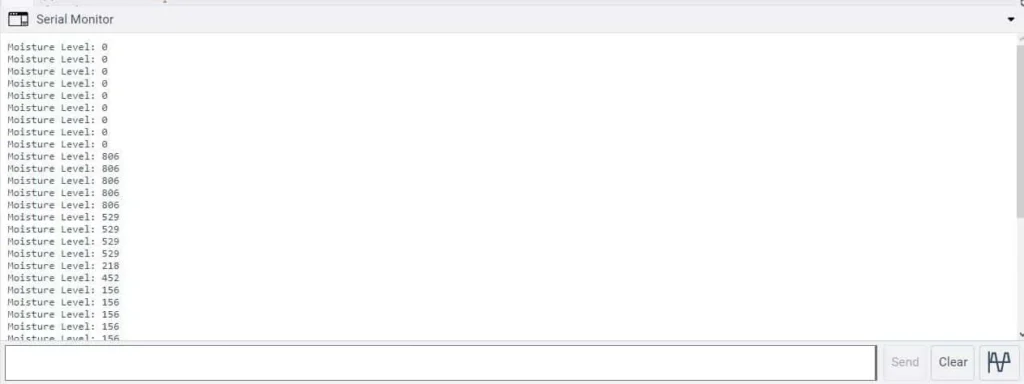
Interface moisture sensor with an Arduino board.First, the code defines a constant sensor with a value of A0. A0 is the analog pin on the Arduino board to which the moisture sensor is connected.In the setup() function, the code begins serial communication with the computer at a baud rate of 9600 using the Serial.begin() function. So this will allow the Arduino to send data to and receive data from the computer through the USB cable.In the loop() function, the code reads the analog signal from the moisture sensor using the analogRead() function and stores the value in the sensorValue variable. The value is then printed to the serial monitor using the Serial.print() and Serial.println() functions, with the text “Moisture Level” displayed before the value.The code includes a delay() function with a parameter of 1000 milliseconds, which pauses the program for 1 sec before taking another reading. This is to prevent rapid and unnecessary readings that could interfere with the accuracy of the data.This code provides a basic framework for reading data from the moisture sensor and displaying the readings in the serial monitor for further analysis or processing.
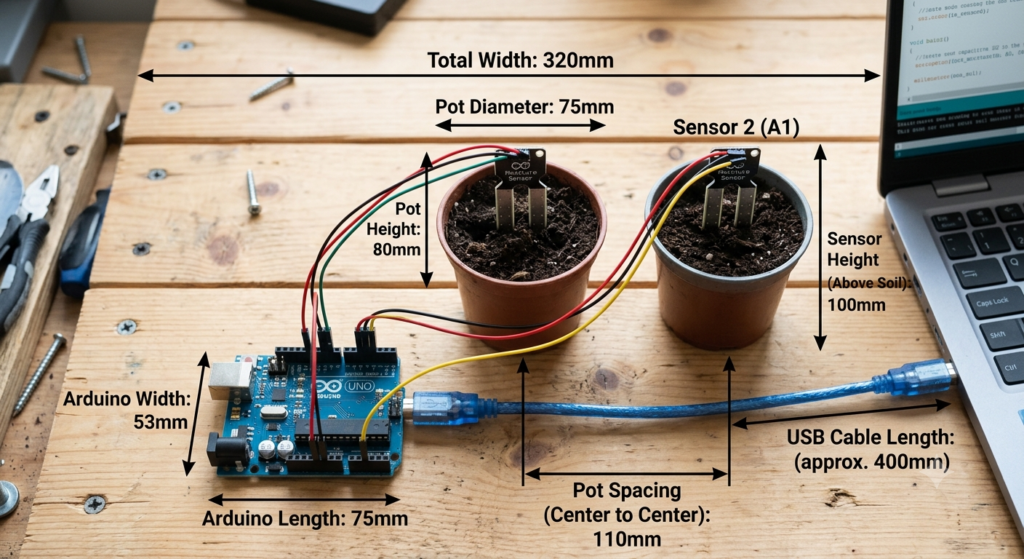
Connection Table
| Sensor 1 Pin | Connects To | Sensor 2 Pin | Connects To |
|---|---|---|---|
| VCC | Arduino 5V | VCC | Arduino 5V |
| GND | Arduino GND | GND | Arduino GND |
| AO | Arduino A0 | AO | Arduino A1 |
| DO | Not used | DO | Not used |
//define sensor pin
#define sensor A0

void setup() {
  Serial.begin(9600); //start serial communication
}

void loop() {
  //read sensor
  int sensorValue = analogRead(sensor);
  Serial.print("Moisture Level: ");
  Serial.println(sensorValue);

  delay(1000); //wait for 1 second before taking readings again
}Serial Monitor Data
Connecting 2 Moisture sensor to Arduino Board with code and Circuit Diagram
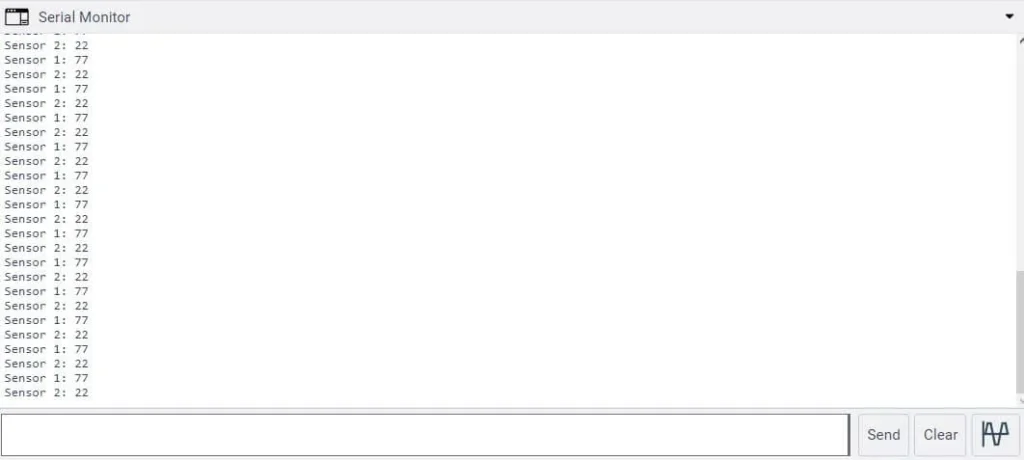
Serial Monitor Data for 2 moisture sensors
Code
//define sensor pins
#define sensor1 A0
#define sensor2 A1

void setup() {
  Serial.begin(9600); //start serial communication
}

void loop() {
  //read sensor 1
  int sensor1Value = analogRead(sensor1);
  Serial.print("Sensor 1: ");
  Serial.println(sensor1Value);

  //read sensor 2
  int sensor2Value = analogRead(sensor2);
  Serial.print("Sensor 2: ");
  Serial.println(sensor2Value);

  delay(1000); //wait for 1 second before taking readings again
}Connecting 3 Moisture Sensors toan Arduino Board with code and Circuit Diagram
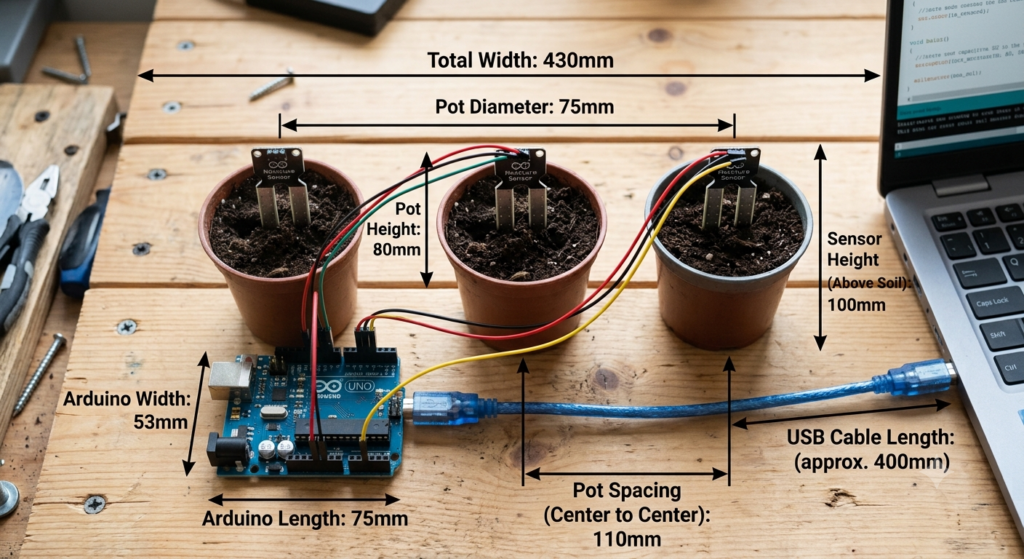
Code
#define sensor1 A0
#define sensor2 A1
#define sensor3 A2

void setup() {
  Serial.begin(9600); //start serial communication
}

void loop() {
  //read sensor 1
  int sensor1Value = analogRead(sensor1);
  Serial.print("Sensor 1: ");
  Serial.println(sensor1Value);

  //read sensor 2
  int sensor2Value = analogRead(sensor2);
  Serial.print("Sensor 2: ");
  Serial.println(sensor2Value);

  //read sensor 3
  int sensor3Value = analogRead(sensor3);
  Serial.print("Sensor 3: ");
  Serial.println(sensor3Value);

  delay(1000); //wait for 1 second before taking readings again
}